

Size: 6*36, 7*48, 9*48, 7*60, 9*60, 7*72, 12*24, 18*36 and etc.
Thickness: 3.2-8mm
Wear layer: 0.1-1mm
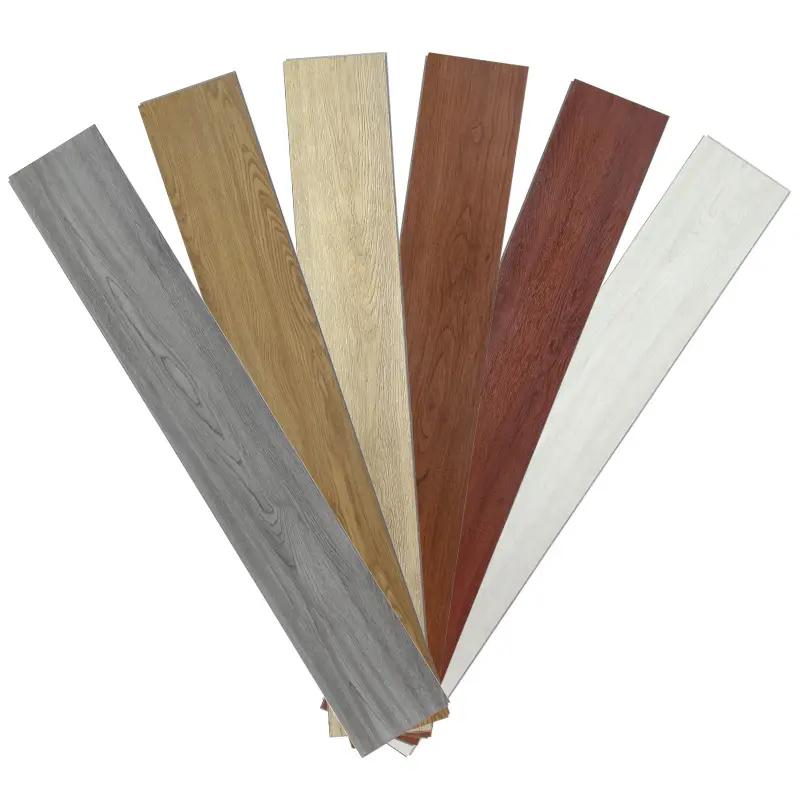
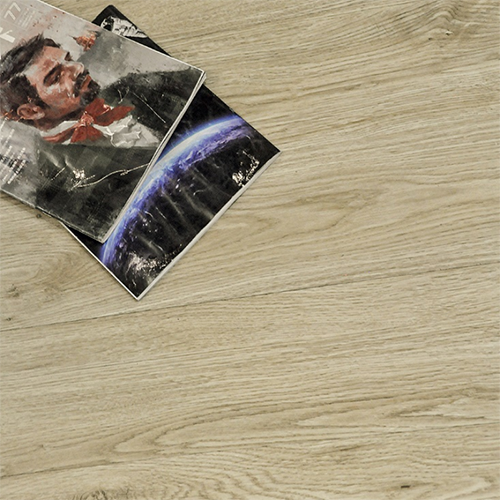
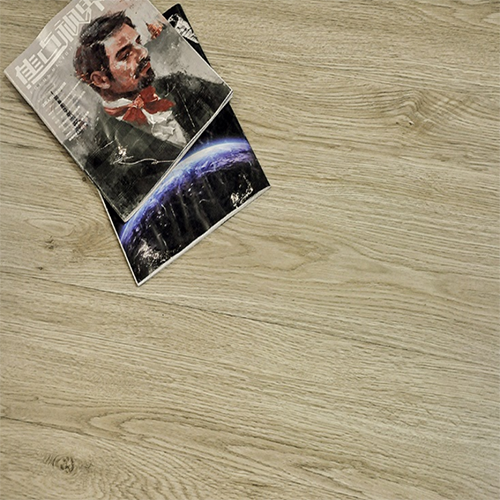
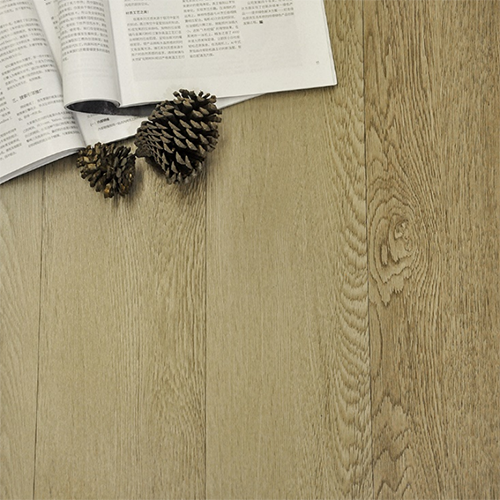
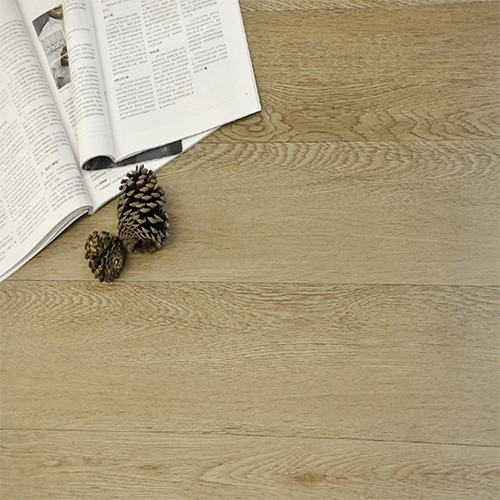
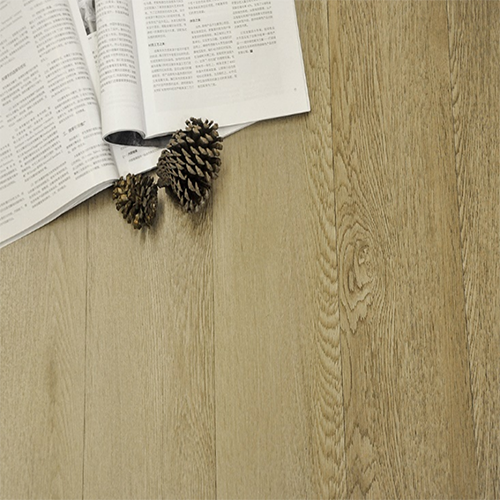
Textures: Embossed, Hand scraped, Crystal, Stone, Registered embossed (EIR)
Core material: 100% virgin
Installation: Unilin
Underlay: EVA, IXPE
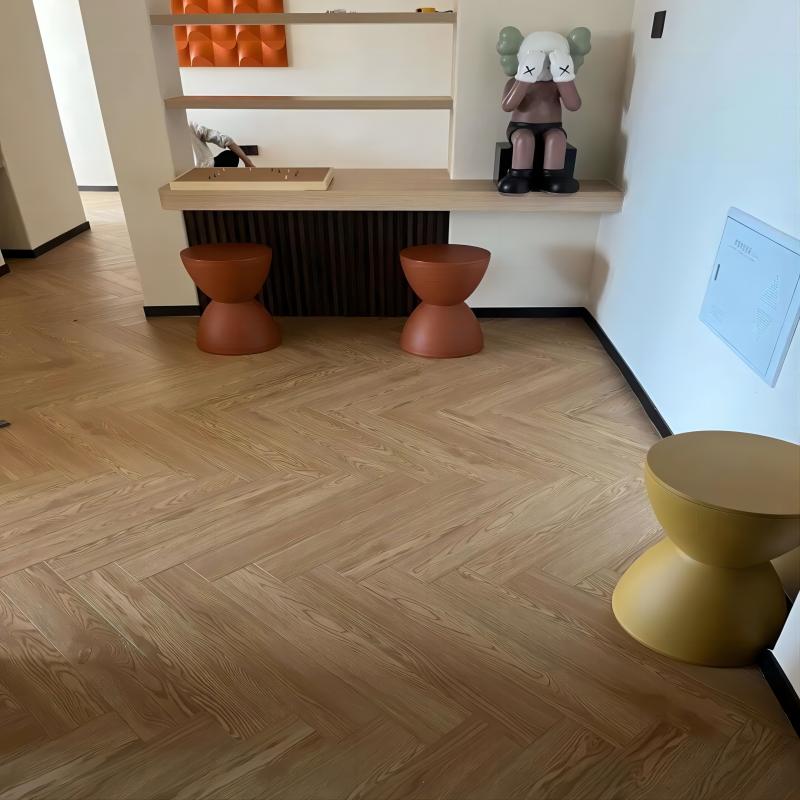
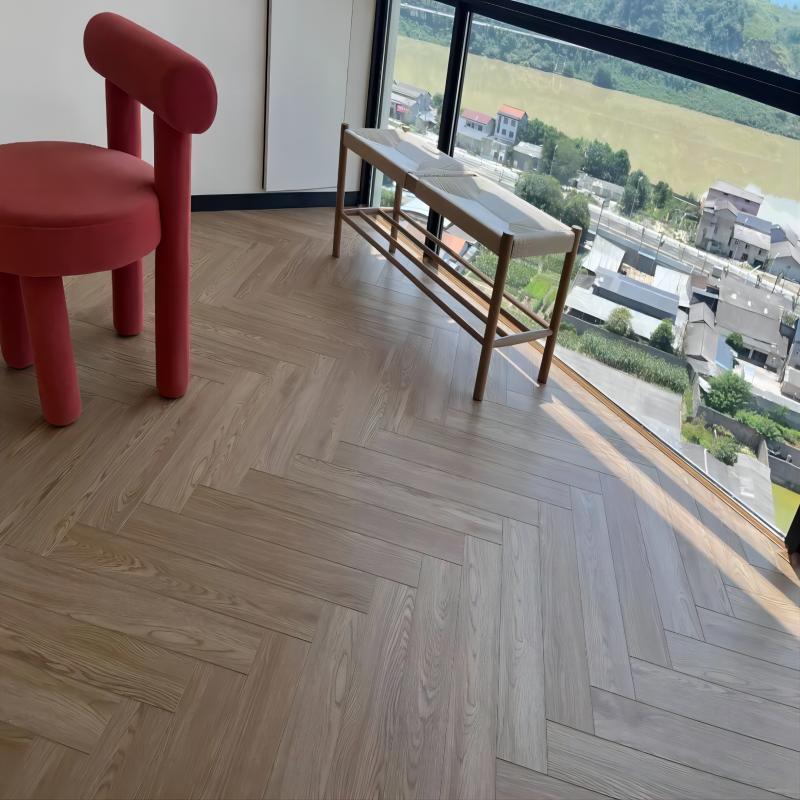
Feature: 1.Waterproof 2.Anti-scratch
Certification:Floor score, ISO9000, ISO14001, SGS
Customization: Accept
he final


Usage and care

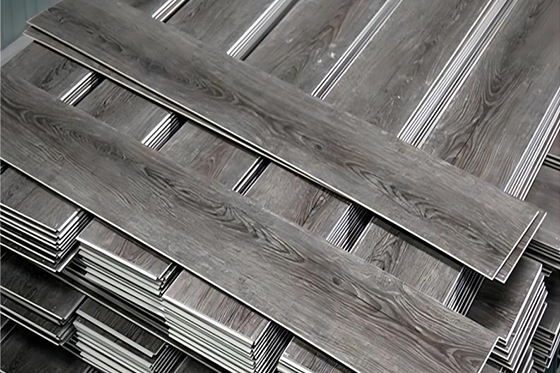
01 Prepare the required floor plates.

02 Preparation tools: tape measure, pen, carving knife, T-shaped ruler, soft rubber hammer, removal wedge.
06 Align and lock the floor
Align the long and short sides of the connection between the two floors with a T-shaped ruler. Tap the soft rubber hammer to lock the floor.

03 Lay the first A plate on the flat ground, and place the T-shaped ruler on the 45 ° diagonal at one end of the A plate. Press and hold the T-shaped ruler, and pre-cut a 45 ° diagonal line with a carving knife. Then place the board on a higher plane and fold down the pre cut right triangle. And then fold upward to break off the triangular plate.

04 Install the first floor
Place the first A plate against the wall along the 45 ° cutting surface.
05 Take the second B plate, drop its long side directly, and connect it with the short side of the first A plate.

06 Align and lock the floor
Align the long and short sides of the connection between the two floors with a T-shaped ruler. Tap the soft rubber hammer to lock the floor.

07 Install the third floor
Place the third plate A so that its long side is connected with the short side of the second plate B. Align the two floors with a T-shaped ruler, and then tap the rubber hammer to lock the floor. At this time, make sure that the tenon edge of all floors is facing inward.

08 Install the last floor in the row
Repeat this process until you reach another wall. Pave it to the wall and measure the distance from the floor to the wall (including the width of the floor). Mark the measured length of the last floor and cut the floor at an angle of 45 ° at the mark. Then place the floor according to the previous instructions.

09 Place the whole row of floor against the wall
Gently push the first row of wave shaped floor assembled to the wall.

10 Continue to pave the floor against the wall
Measure and cut the floor as before, and continue to spread the ground between the first row of wavy floor and the wall. Lift the assembled floor, place the new floor on the ground, and directly drop the assembled floor row. The A and B plates are laid alternately until all the gaps are filled. Don't forget to lock the floor.

11 Install board A first, then board B
Continue to pave the floor along the outside, first pave the A plate of each row of wavy floors, and then pave the B plate. When paving to the wall on the other side of the room, pave the floor against the wall as shown in Figure 9.


9023
9024

Previous:nothing
Next:nothing
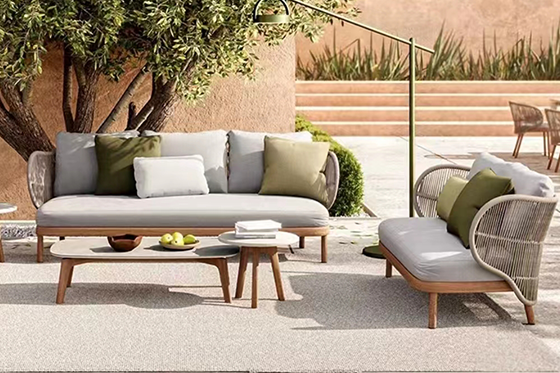
Modular sectionals&Deep Seating

Leisure chair
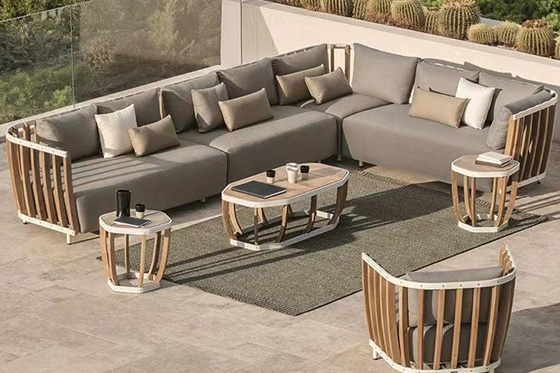
Teak outdoor furniture

Loungers
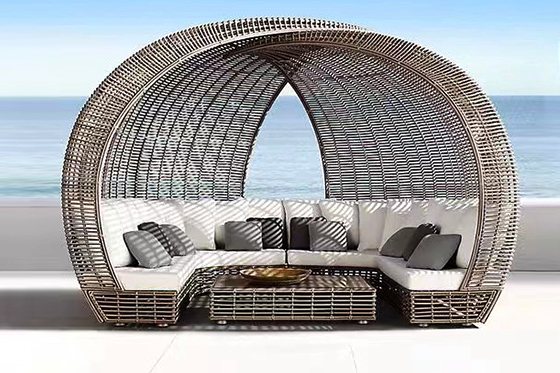
Daybeds

SPC FLOORING
Address: ROOM 13,FLOOR 13 ,BLOCK C ,FOSHAN NATIONAL TORCH INNOVATION PIONEERING PARK ,CHANCHENG DISTIRCT FOSHAN
Guangdong | China
Cell: (+ 86) 13929990045 Tel: (+ 86) 13929990045
Email:
sally@huahong-log.com
admin@huahong-log.com
Follow Us


Scan to Follow Uson WeChat
Copyright © 2022 All rights reserved by Hua Hong Co., LTD